chapter 10 - Using Window Light for Natural Portraits
Learn the fundamentals of natural light portraits
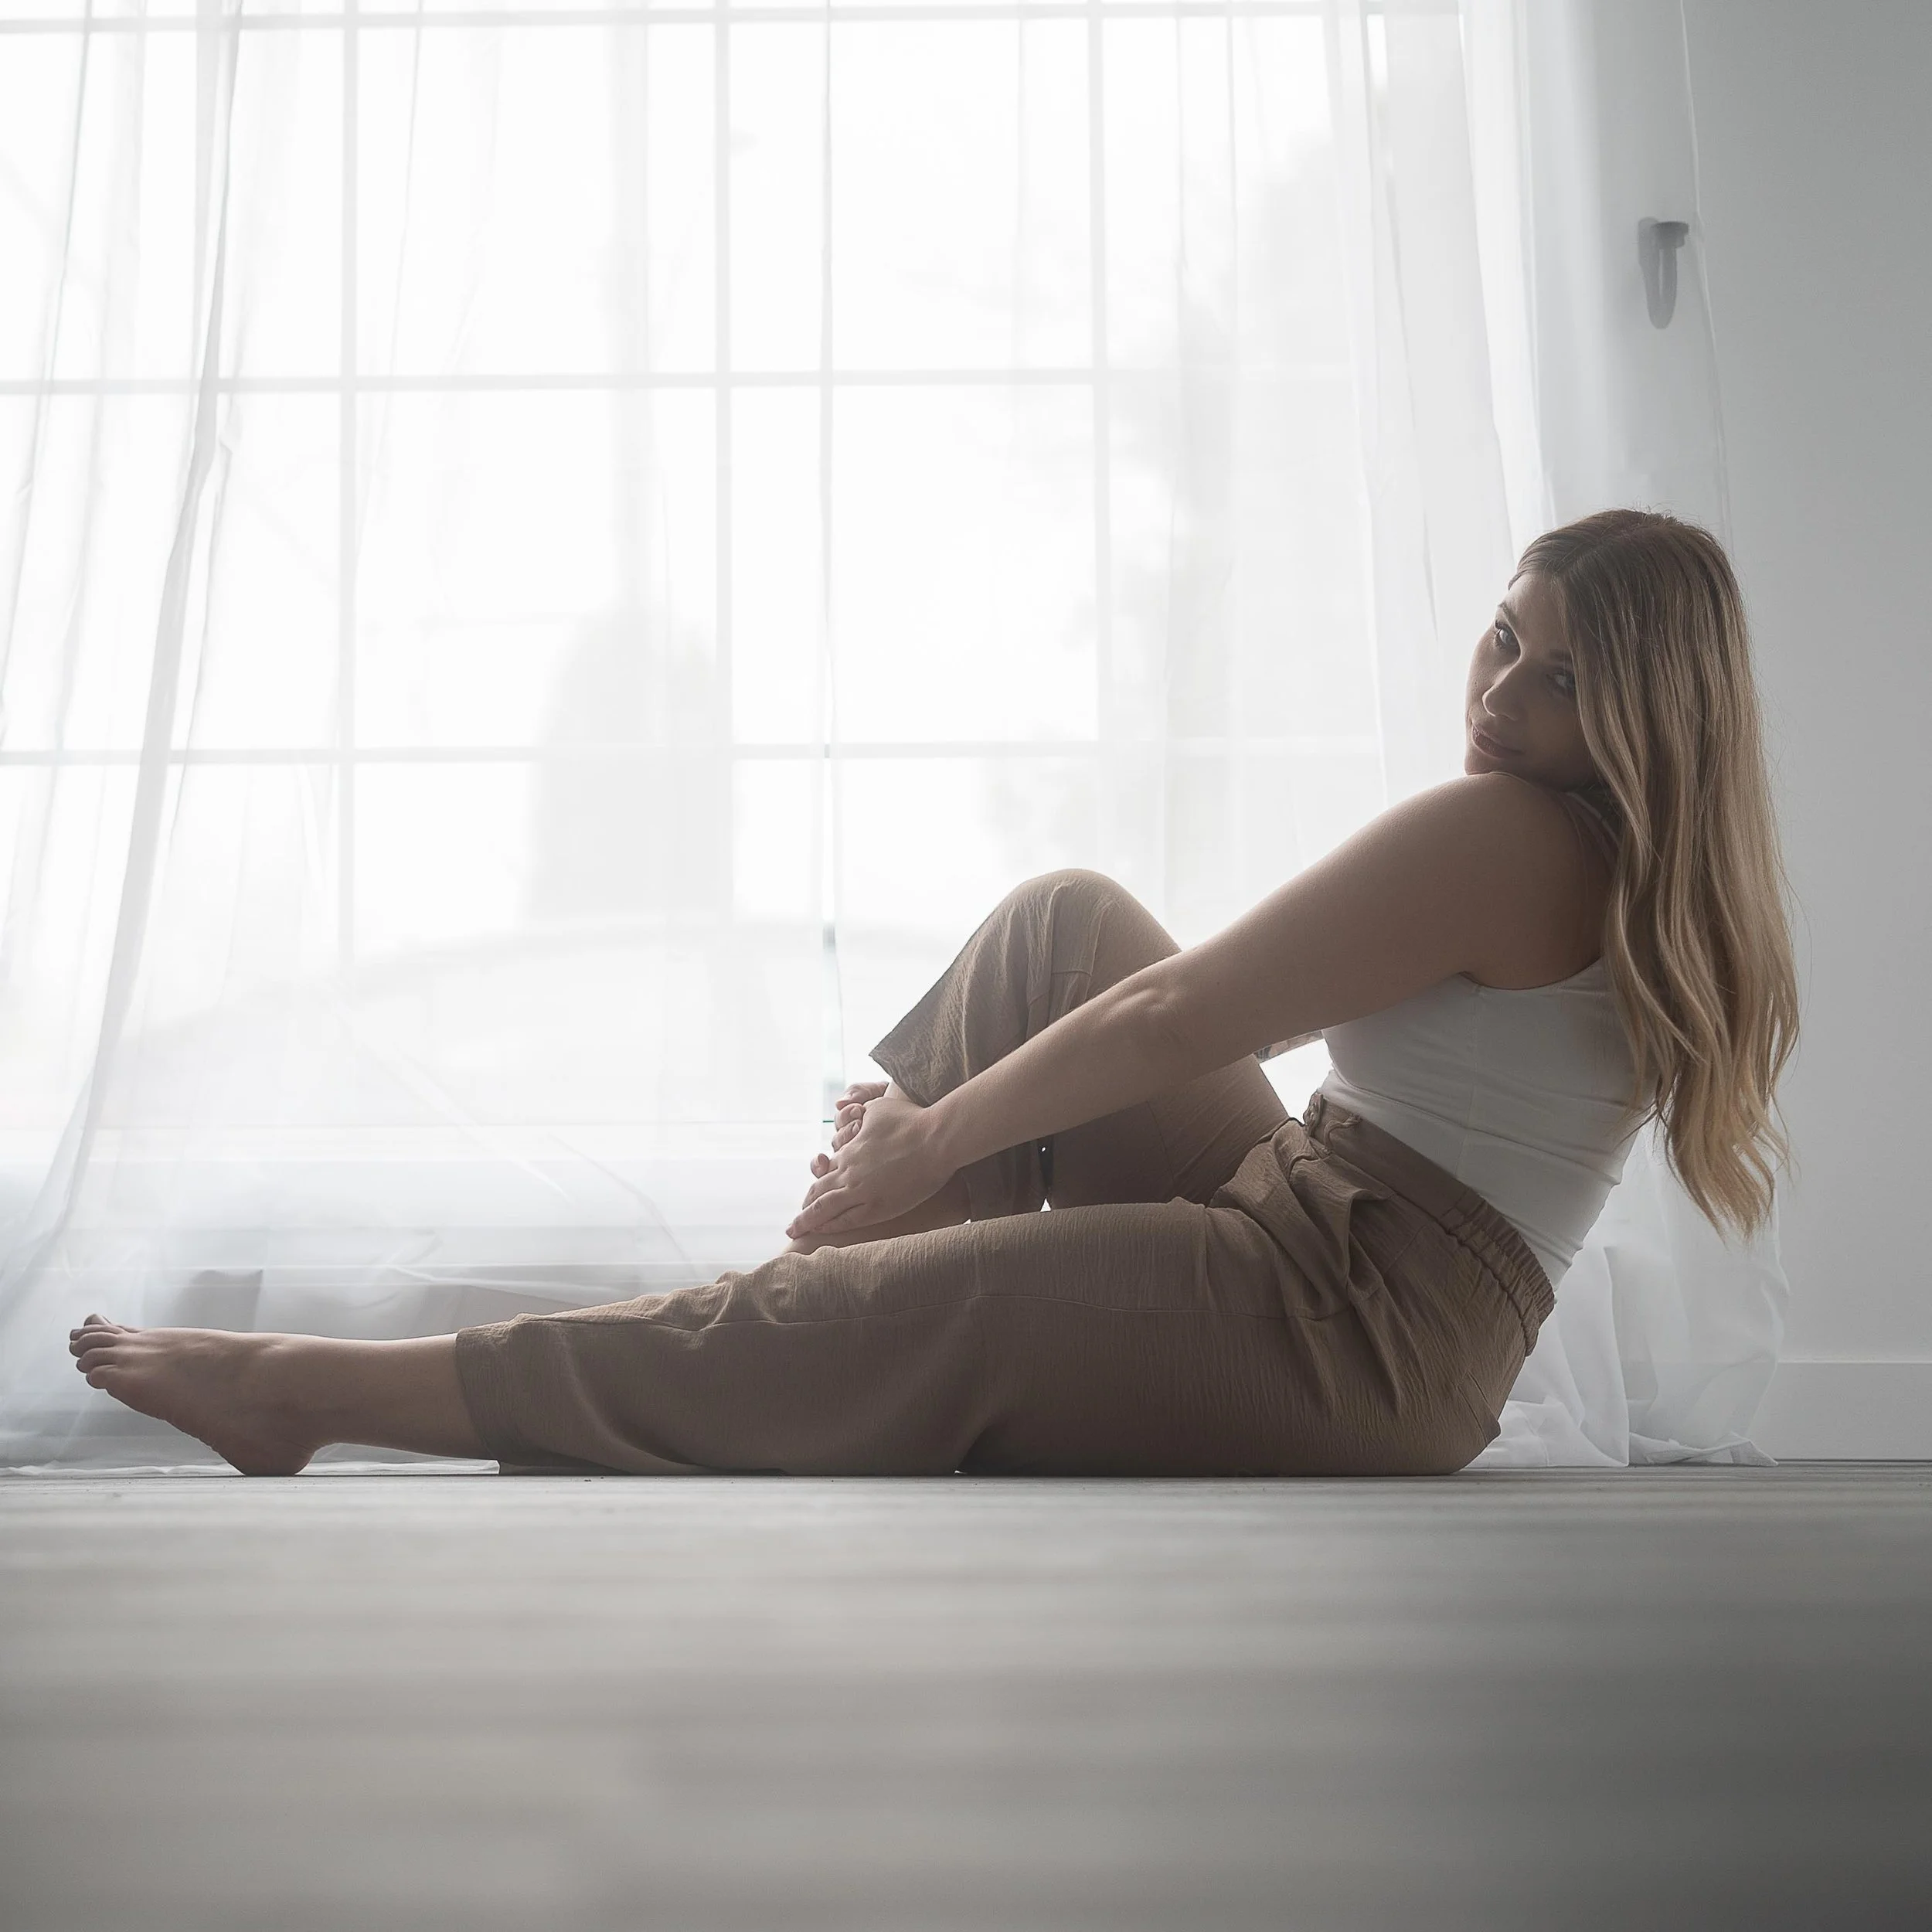
Learn how to create beautiful, natural-looking portraits using only window light by positioning your subject in front of, beside, or behind the window.
What You’ll Learn in This chapter
Window Light Portrait Photography
Window light is one of the most accessible and flattering light sources available. In this lesson, you’ll learn how to use window light intentionally to shape faces, create depth, and achieve different moods - all without artificial lighting.
By the end of this chapter, you will understand:
Why window light works so well for portraits
How light direction changes the look and mood of a photo
How to position a subject with the window in front, to the side, or behind
How to adjust camera settings for each lighting scenario
How to pose a subject naturally near a window
chapter 10 Downloads
These are the digital notes and resources for this chapter.
Download them before watching the lessons so you can follow along and reinforce what you’re learning.
Save these to your computer for easy reference as you practice.
🎥 Chapter 10 Video
This chapter 10 video lesson will guide you through the key concepts and techniques for this part of the course.
Take notes as you watch, and don’t worry about mastering everything all at once. You’ll build confidence through practice as you move through each lesson.
chapter 10 task
This task is designed to help you become comfortable using natural window light intentionally, rather than guessing.
Your goals is to:
1. Photograph a subject using side window light
Focus on positioning your subject beside a window and observe how the light shapes the face.
2. Photograph the same subject using side window light with a prop
Use a simple prop (chair, stool, wall, etc.) to help create natural posing and variation.
3. Photograph from the shadow side
Shoot from the shadow side of the face and expose for the lit side to create a more moody, dramatic portrait.
As you shoot, also try to:
• Move your subject closer and farther from the window
• Try different shooting angles
• Pay attention to shadows, highlights, and facial contours
• Capture a few variations from each setup
Next chapter
When you're ready, continue on to the next lesson.